This Minecraft tutorial explains How To Make Powered Rails in Minecraft with detailed screenshots and step-by-step instructed process.
Rails are one of the most common and used transport tools. Making the rails is really easy and requires few materials! On the rails you can insert a Minecart and use it to move quickly, carrying a lot of things with you. They can be made everywhere, outdoors as underground and even on the slopes of the hills to exploit them and also to climb mountains thanks to their propulsive thrust. They are really very useful for surviving in Minecraft and making a fantasy world. In this guide I’ll explain how to make them in a few simple steps. Here’s how to get the rails:
Required Materials to make powered rails in Minecraft:
| Image | Name | Quantity |
 |
Gold Ingots | 6 |
 |
Stick | 1 |
 |
Redstone Dust | 1 |
Creating Powered Rails in Minecraft is very simple: you can choose crafting if you are in survival mode, so follow the first option. If you are in creative mode, go directly to the second option.
OPTION ONE: CRAFTING POWERED RAILS IN SURVIVAL MODE
1. Open the workbench grid
First, lay a workbench along the ground and right-click on it. A crafting grid similar to the one you see in the photo will open for you:
All you have to do is place the different materials inside the grid squares in the right order.
2. Place the materials in the fabrication grid
Now follow carefully how to insert the different materials into the manufacturing grid. You can help you by referring to the photo you see below:

3. Collect the item
Now you just have to click on powered rails and drag them to your inventory so you can use them when you need them. Really easy!
OPTION TWO: FIND RAILS IN CREATIVE MODE
You can find Rails in different sections depending on the device used :
| PLATFORM | VERSION SECTION |
| Java Edition | 1.8 – 1.19 Transportation |
| Pocket Edition | 0.14.1 – 1.1.3 Tools
1.2 – 1.18.10 Items |
| Xbox 360 | TU35 – TU69 Redstone and Transportation |
| Xbox One | CU23 – CU43 Redstone and Transportation1.2.5 – 1.18.10 Items |
| PS3 | 1.26 – 1.76 Redstone and Transportation |
| PS4 | 1.26 – 1.91 Redstone and Transportation
1.14.0 – 1.18.10 Items |
| Wii U | Patch 3 – Patch 38 Redstone and Transportation |
| Nintendo Switch | 1.04 – 1.11 Redstone and Transportation
1.5.0 – 1.18.10 Items |
| Windows 10 Edition | 0.14.1 – 1.1.3 Tools
1.2 – 1.18.10 Items |
| Education Edition | 0.14.2 – 1.0.18 Tools
1.0.21 – 1.17.30 Items |
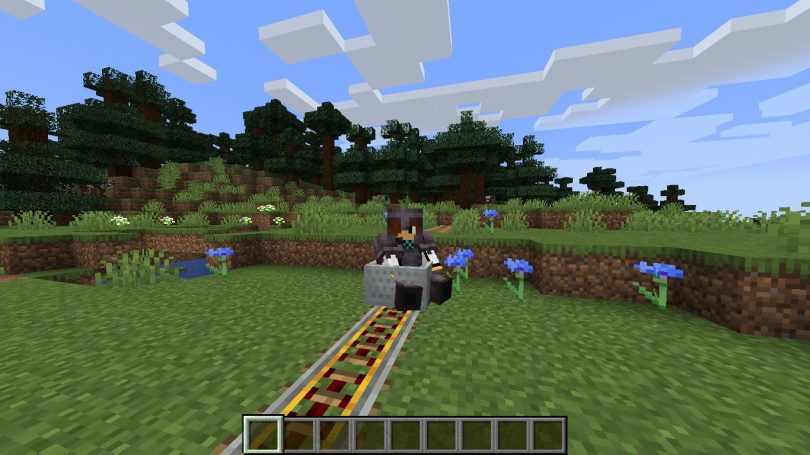
Through the mountains on a trolley
To move quickly across rugged or diverse biomes, switch between two basic rails and one powered rail. Of course, this will need a significant amount of powered rails, but you will be able to go on the trolley without jerks or brakes, even while going uphill.
Empty trolley
Things become more problematic when the trolley is empty. Trolleys without passengers cannot use their propulsion and must rely on the engine or rails to move. As a result, even along the most direct route, a railway alternating five ordinary tracks with one powered rail is necessary. In hilly locations, the powered rails alternate via a single basic one.
The complexities of railway track building
Keep in mind that powered rails cannot be utilized to make turns, so you will have to make do with basic ones. Powered rails also require a lever to turn them on. In most cases, the levers are replaced by pressure rails that activate when they come into contact with the trolley.
Conclusion
We figured out how to make and get resources for powered rails. It may seem complicated, but with our guide, it’s a matter of 20 minutes. Now you can build your rail network and move around the map without difficulty.
All screenshots are taken from Dreamtastix YouTube Channel
