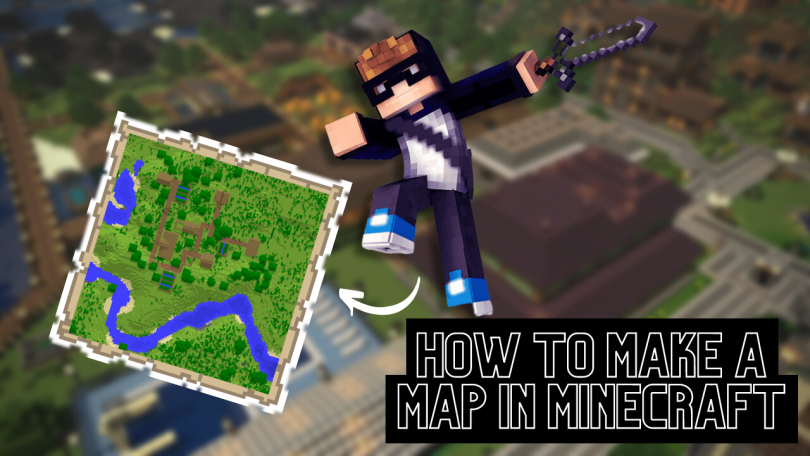
This Minecraft tutorial explains How to make a Map in Minecraft with detailed screenshots and step-by-step instructed process.
In this guide I will show you in a simple way how to create a very comfortable map in minecraft from scratch. It will have occurred to you too many times the desire to have a map available to be able to explore the surrounding places to the point where you may have built your base, without running the risk of getting lost. Having a map in Minecraft is in fact essential to be able to orient yourself in a really huge world, with many different biomes that sometimes look alike and are able to confuse even the most experienced player! Also on the map you can see the silhouettes of buildings, even those built by you! Creating a map in minecraft is not a difficult task at all. You will see that with a little practice and following each step that I show you in this guide, you too will be able to create a map by yourself and without anyone’s help.
This map will be really useful for you to take full advantage of all the potential that comes from the immense worlds of minecraft, and it can also give you an advantage over your opponents. What are you waiting for then? It’s really a no-brainer, I’m more than sure you will love it and you will immediately begin to familiarize yourself with the creation of maps. So you just have to follow these simple steps that I will show you now in the guide that follows. Put them into practice one by one and if something is not clear to you, don’t worry: you have this guide at your disposal which will be your “map” in the process of creating a new map in Minecraft. So here we are ready to go.
Required Materials to create a Map in Minecraft:
| MATERIAL | UNITS |
| Paper | X 8 (+ 8 for extended map) |
| Sugar cane | X 3 |
| Compass | X 1 |
| Iron ingots | X 4 |
| Redstone powder | X 1 |
Step 1: Papermaking
It sounds obvious, but it may not be completely obvious: to create a map, the way it does in the real world, you’ll need paper! If you are in survival mode this could be a problem, but not for you reading my guides. In fact, making paper is the simplest thing in the world. It will take you very little. Now I’ll explain better. All you have to do is go in search of sugar canes. Thank God the Minecraft world is full of them everywhere. It will be enough for you to approach the banks of some pond or river and almost certainly here you will find it beautiful and ready all for you. All you have to do is collect it, and here you will have many sugar canes at your disposal. Once you’ve done this, simply place your beloved workbench, essential for doing anything in Minecraft, and insert three units of sugar cane into the grid. For every three units of sugar cane, the workbench will magically churn out one unit of paper! And that’s it. Easy right?
STEP 2: Get a compass
However, paper alone will not be enough to create a fantastic map. You will also need a compass to get the map. Yes you got it right! You may already have it in your trunk, but in case you don’t have it, don’t really worry. Its manufacture is so simple that it will certainly not be a problem for you to make it even in survival mode. All you need are four units of iron ingots and one unit of redstone dust. Simply place your workbench in the ground and insert these materials into the grid. And here you will immediately have a wonderful compass at your disposal!
STEP 3: Map with a single dial making from raw materials
Now, after some practice looking for sugar canes and making paper and a compass, once you are sure you have the necessary building materials available, you are ready to make your own map. You won’t have to work hard, but carefully follow the steps I show you below to get a great result. First, as always, place your workbench on the ground. Once you right click, the usual crafting grid will appear. Now all you have to do is place the compass in the exact center of this grid. At the same time, place a unit of paper in each remaining square. You will need 8 units of paper in this initial phase of building your map. Once you have successfully completed the operation I have just described, you can collect an empty map in your trunk. After collecting it, open it and interact with it. Within it you will have a clear picture of the situation that is immediately around you. In particular you will see the physiognomy of the mountains, lands and waterways. In addition, a small white sign will show you your current position. Strong, right?
STEP 4: Create a larger map across multiple quadrants
But obviously, if your ambitions are really very high, a map limited to a single quadrant may be too limiting for you, although still very useful on many occasions. So here I suggest you how to broaden your horizon, extending it to more quadrants in order to have a complete picture of the area of your interest. You will thank me for this precious tip! First, to extend the area covered by the map you will need another 8 paper units. Then place your workbench on the ground and insert the single quadrant map that you created previously following the steps I explained earlier in the center of the manufacturing grid. Once this is done, just fill in the remaining squares with paper units. And here in a moment the workbench will generate a new map that will include the quadrant made previously with the addition of an extra area to explore. You can repeat this up to four times to get a bigger and bigger map. Furthermore, once you physically decide to exit the quadrant where you are to reach another one, you will see the latter unlock on the map. As I told you, this is a very simple operation.
[All screenshots are taken from “Dreamtastix” YouTube Channel]
