While everyone loves creating their own Minecraft worlds on their local server, it can However get tedious playing alone without the company of our friends and family in our virtual worlds. However, with the help of port forwarding, players can learn how to play against each other.
What Is Port Forwarding?
Port forwarding is a feature that allows remote computers to connect to a local network using specific TCP and UDP ports. This feature is typically present in most routers and can be accessed by logging in via the default router gateway.
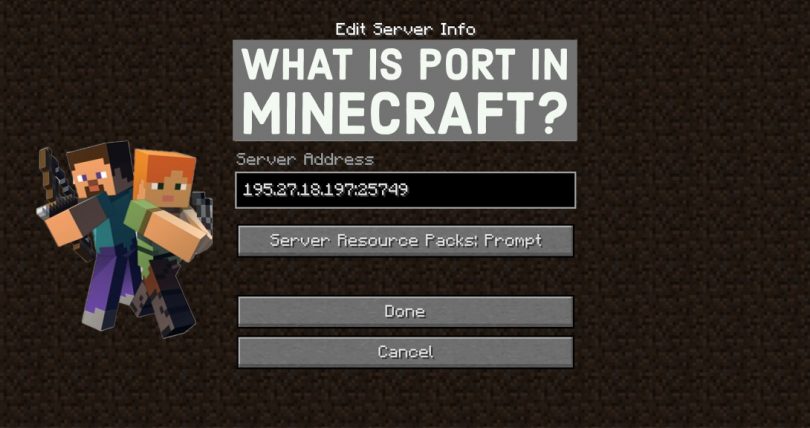
Before we delve into porting forward, you must be wondering what a port is. A port in many ways is a door that permits an internet connection to flow in and out of a PC. Games like Minecraft are typically assigned ports which they then use to channel traffic to and fro in multiplayer scenarios.
Port forwarding can be used to allow players to start and enjoy multiplayer games together. While this feature will definitely be popular amongst Minecraft players, Port forwarding is not an easy feat to accomplish.
However, by following the steps below you can set up your own private server for your friends to join or easily join theirs. So without further ado, let’s get into the steps to successfully port forward:
- A player who has a running game server on their machine and intends to host a game with friends must first connect via an internet IP address.
- The player hosting the game must follow the processes required to open specific network ports on their device. This will allow other players on different networks to connect to their game.
- Use your web browser to navigate the router configuration site on your home network. The address is typically on a sticker on the body of the router. A common one is https://192.168.0.1
- Log in as an admin for your home network. The login ID and password are also typically found on a sticker on the body of the router. If this information is not available, contact your ISP.
- Find the port forwarding setting and configure it by entering the IP address you previously recorded from the multiplayer tab on Minecraft: Education Edition.
- Set the starting port to 19132
- Set the ending port to 19133
- Note that you will have to do these settings for both TCP and UDP protocols. If you don’t see an option to select both and do them simultaneously, you will have to set them up one at a time.
Conclusion
So that’s it from us on porting forward, by enabling this you will be able to enjoy games with your friends and family over the internet no matter where you are. I hope this article was useful and if it was, don’t forget to share the article. Also remember to share any comments you have and maybe invite us over to your multiplayer game; all the same, take care and goodbye.
